The playmoTV DNS gateway works well on Mac, and configuring the DNS servers on the Mac operating system has stayed pretty much the same from 2
Important! If you are using multiple Wi-Fi networks you need to to repeat this setup when you change to a new Wi-Fi network.
- On your Dock, open System Preferences

- In the Internet & Wireless section, click the Network button

- Your computer is either connected via Wi-Fi or Ethernet (the green dot indicates what connection you are using). In this set-up scenario, we are using Wi-Fi.

- When you have selected your preferred Internet connection, click Advanced and a new window should open up.
 In the new window, click the DNS button on top
- Next, click the + button to add the playmoTV DNS server code

-
You need to be logged in to view this part
Already a member?
 When you have successfully entered the DNS settings, you need to ensure that the playmoTV numbers are the only ones in present in the field. If any other numbers remain, remove them by selecting the number and then click the – button. Next, click OK
- This should lead you back to the Network window again. Here you click Apply and you’re almost ready.

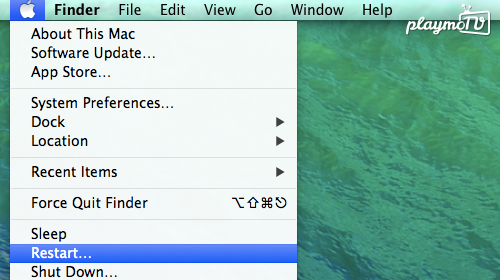
- Next step is important, you have to restart your computer, open a browser and navigate to the playmoTV login page. Simple? Yes, we think so.